
Currently, HelioScope only supports EPW weather files that contain a Name and Location for the data set inside the file. If you have an EPW weather file you would like to upload into HelioScope, this article will explain how to modify those values on the data set so that the file can be uploaded to HelioScope.
Download Energy Plus WorldWide
Download the Energy Plus WorldWide software from the link below:
https://energyplus.net/downloads
Note: this software is only available for Windows and cannot be used on a Mac computer.
Converting EPW files to CSV
Once you've downloaded Energy Plus Worldwide, go through the following steps:
- Go to EnergyPlus folder > PreProcess > WeatherConverter
- Open the "Weather" application
- Select the desired EPW file from your computer as the Input Weather Data File.
- Select the Output Format Data Type as "CSV format of EPW data"
Changing the name of the data set
Once the file has been converted to CSV you will need to edit the data set Name and Location.
- The first "Unknown" is the Name. Add a Name.
- The second "Unknown" is the Location. Add the Location for the weather data set.
Note: we recommend just replacing the Name and Location and nothing else (keep the underscores _ in their original location)
Revert the CSV to an EPW file
Once the data set in the CSV file has been saved with the desired Name and Location, the file will need to be converted back to an EPW file using the same method described above, but in reverse, saving the file as an EPW file.
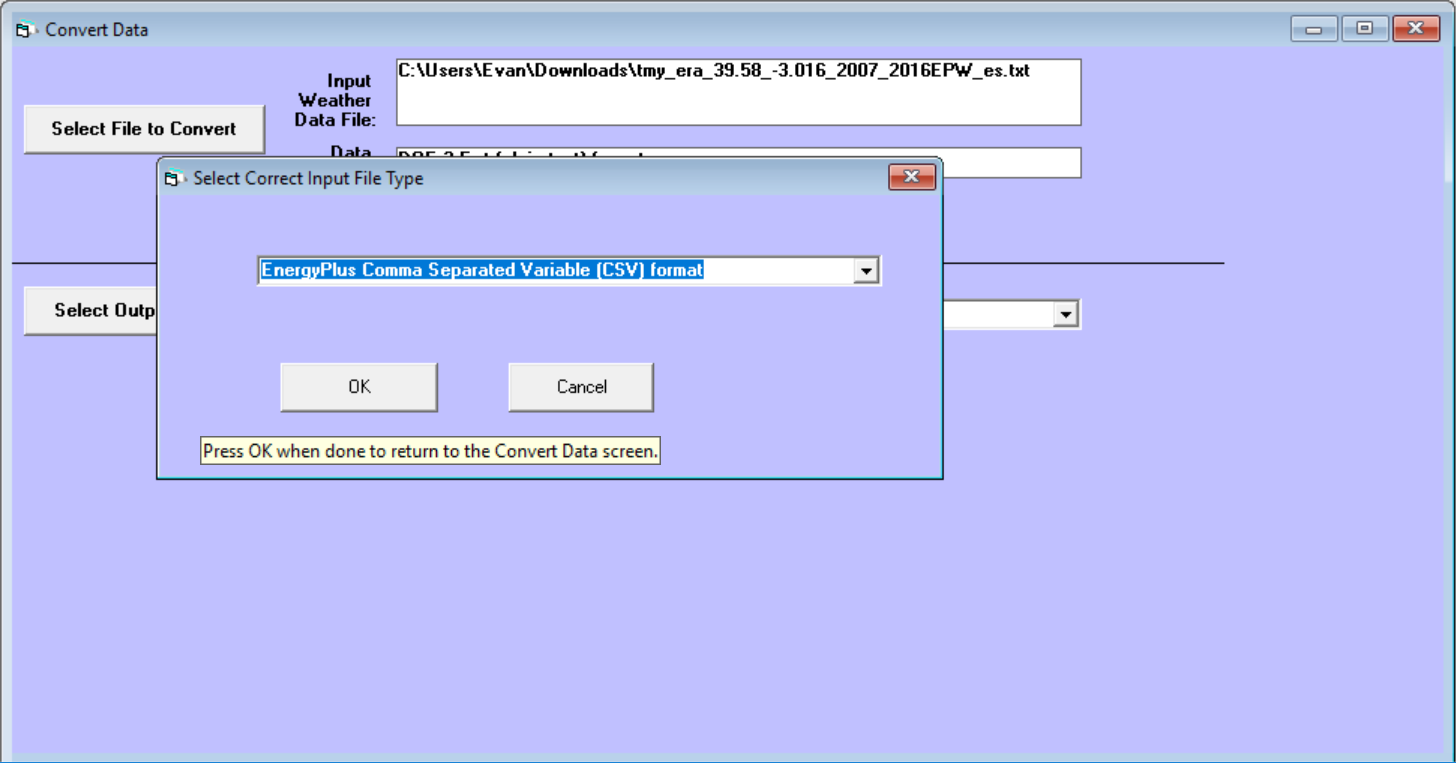
Note: when the CSV file is selected as the Input Weather Data File to convert, the EnergyPlus converter may select by default an incorrect Data Type for the file. Click the "Override Default Type" button and select "EnergyPlus Comma Separated Values (CSV) format".
Uploading the EPW file into HelioScope
Follow the steps described in the Weather File Upload help document to upload the EPW weather file with the new Name and Location on the data set.
(Name: One and Location: One-Two on the example below)