Introduction
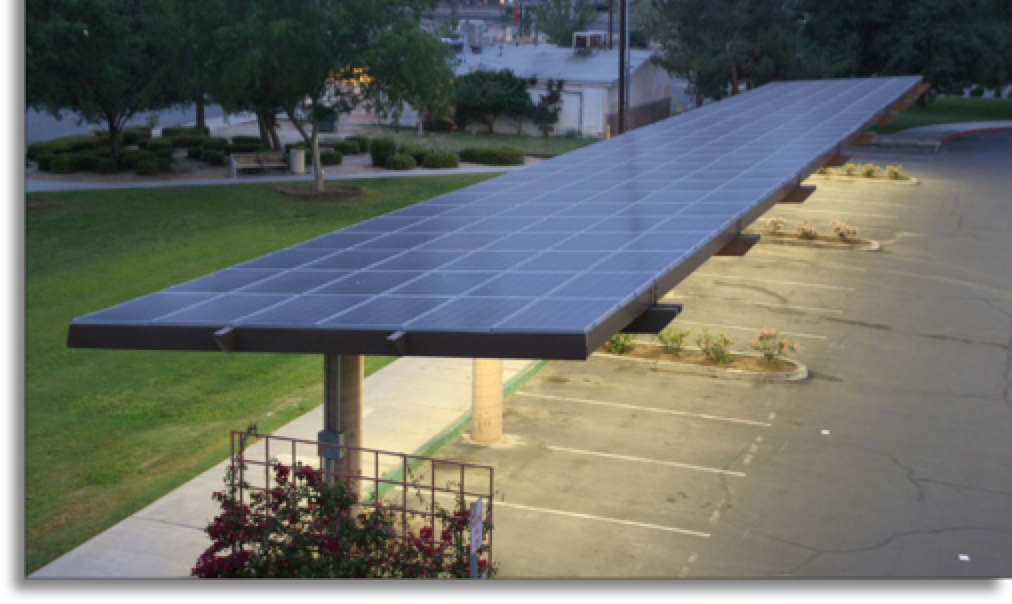
When designing solar canopies in HelioScope, care must be taken in order to properly reflect the physical module layout and thermal properties. This application note will lead you to the design techniques that can be used to model carports in HelioScope.
HelioScope Racking Overview
It is best to start with a brief review of the racking assumptions in HelioScope. Our carport racking option is a combination of two types of racking: “fixed-tilt” and “flush-mount”. It has the temperature characteristics of fixed tilt modules, while still having the shape of a flush mount design. Fixed-tilt modules are tilted up, along a flat plane (e.g. a flat commercial roof or a ground-mounted array). Flush-mount modules are flush along a single plane (e.g. an array on the side of a barn, or a residential array). Flush-mount modules will never shade each other since they are all modeled in the same orientation. An example of both can be seen below.
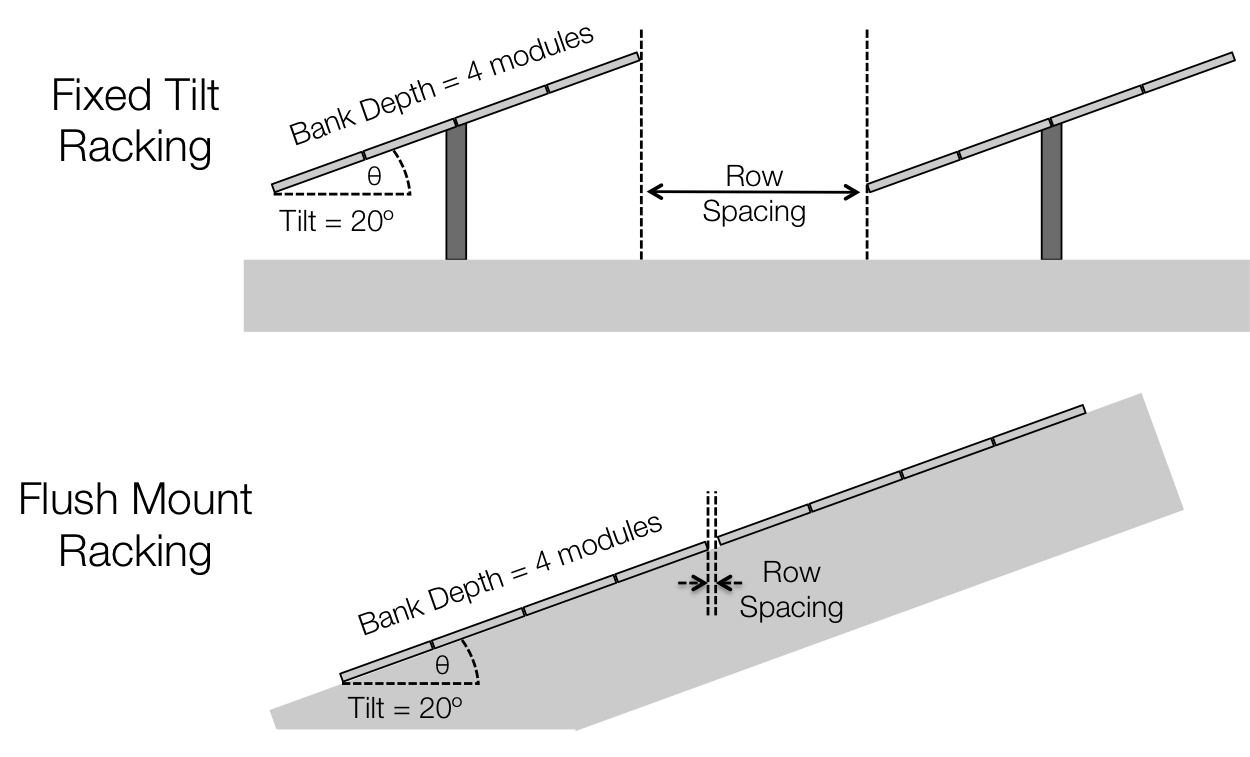
The racking design also drives the module temperature. Specifically, fixed-tilt modules run cooler because they have open space behind them. Flush-mount modules, on the other hand, have less ventilation, and so run hotter. Our carport racking has the layout properties of flush mount racking, with the temperature properties of fixed tilt modules. These coefficients can be viewed and modified in the Edit Model Coefficients section of a Condition Set.
Designing Carports in HelioScope
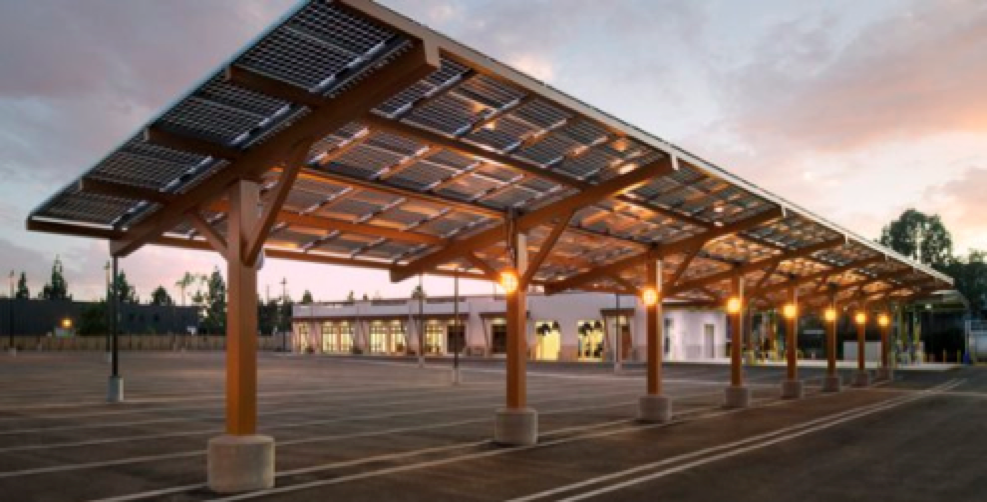
When designing carports in HelioScope, the choice of how to design them is driven by two factors: the canopy back (whether open or closed, which determines airflow), and whether the user is designing a field of similarly sized and evenly spaced carports, or designing them one at a time.
Designing Carports one at a time
First, let's take a look at designing carports one at a time, where we only have one carport in each field segment. For carport canopies that have an open back (with higher air flow and lower temperatures), the HelioScope design is a straightforward application of the Carport racking. For carport canopies that have a closed back (with low airflow and high temperatures), Flush Mount racking should be used.
Draw the Field Segment where the carport will be built with a frame size of 1 x 1, minimal row spacing, and centered alignment. The Field Segment will fill up with modules based on the tilt and dimensions. Make sure that Carport (Shade Structure)is selected for racking for open back racking, or Flush Mount for closed back racking. If modules aren't properly aligned, try using use the “Align Modules to Click” functionality to align the carport above the right location.
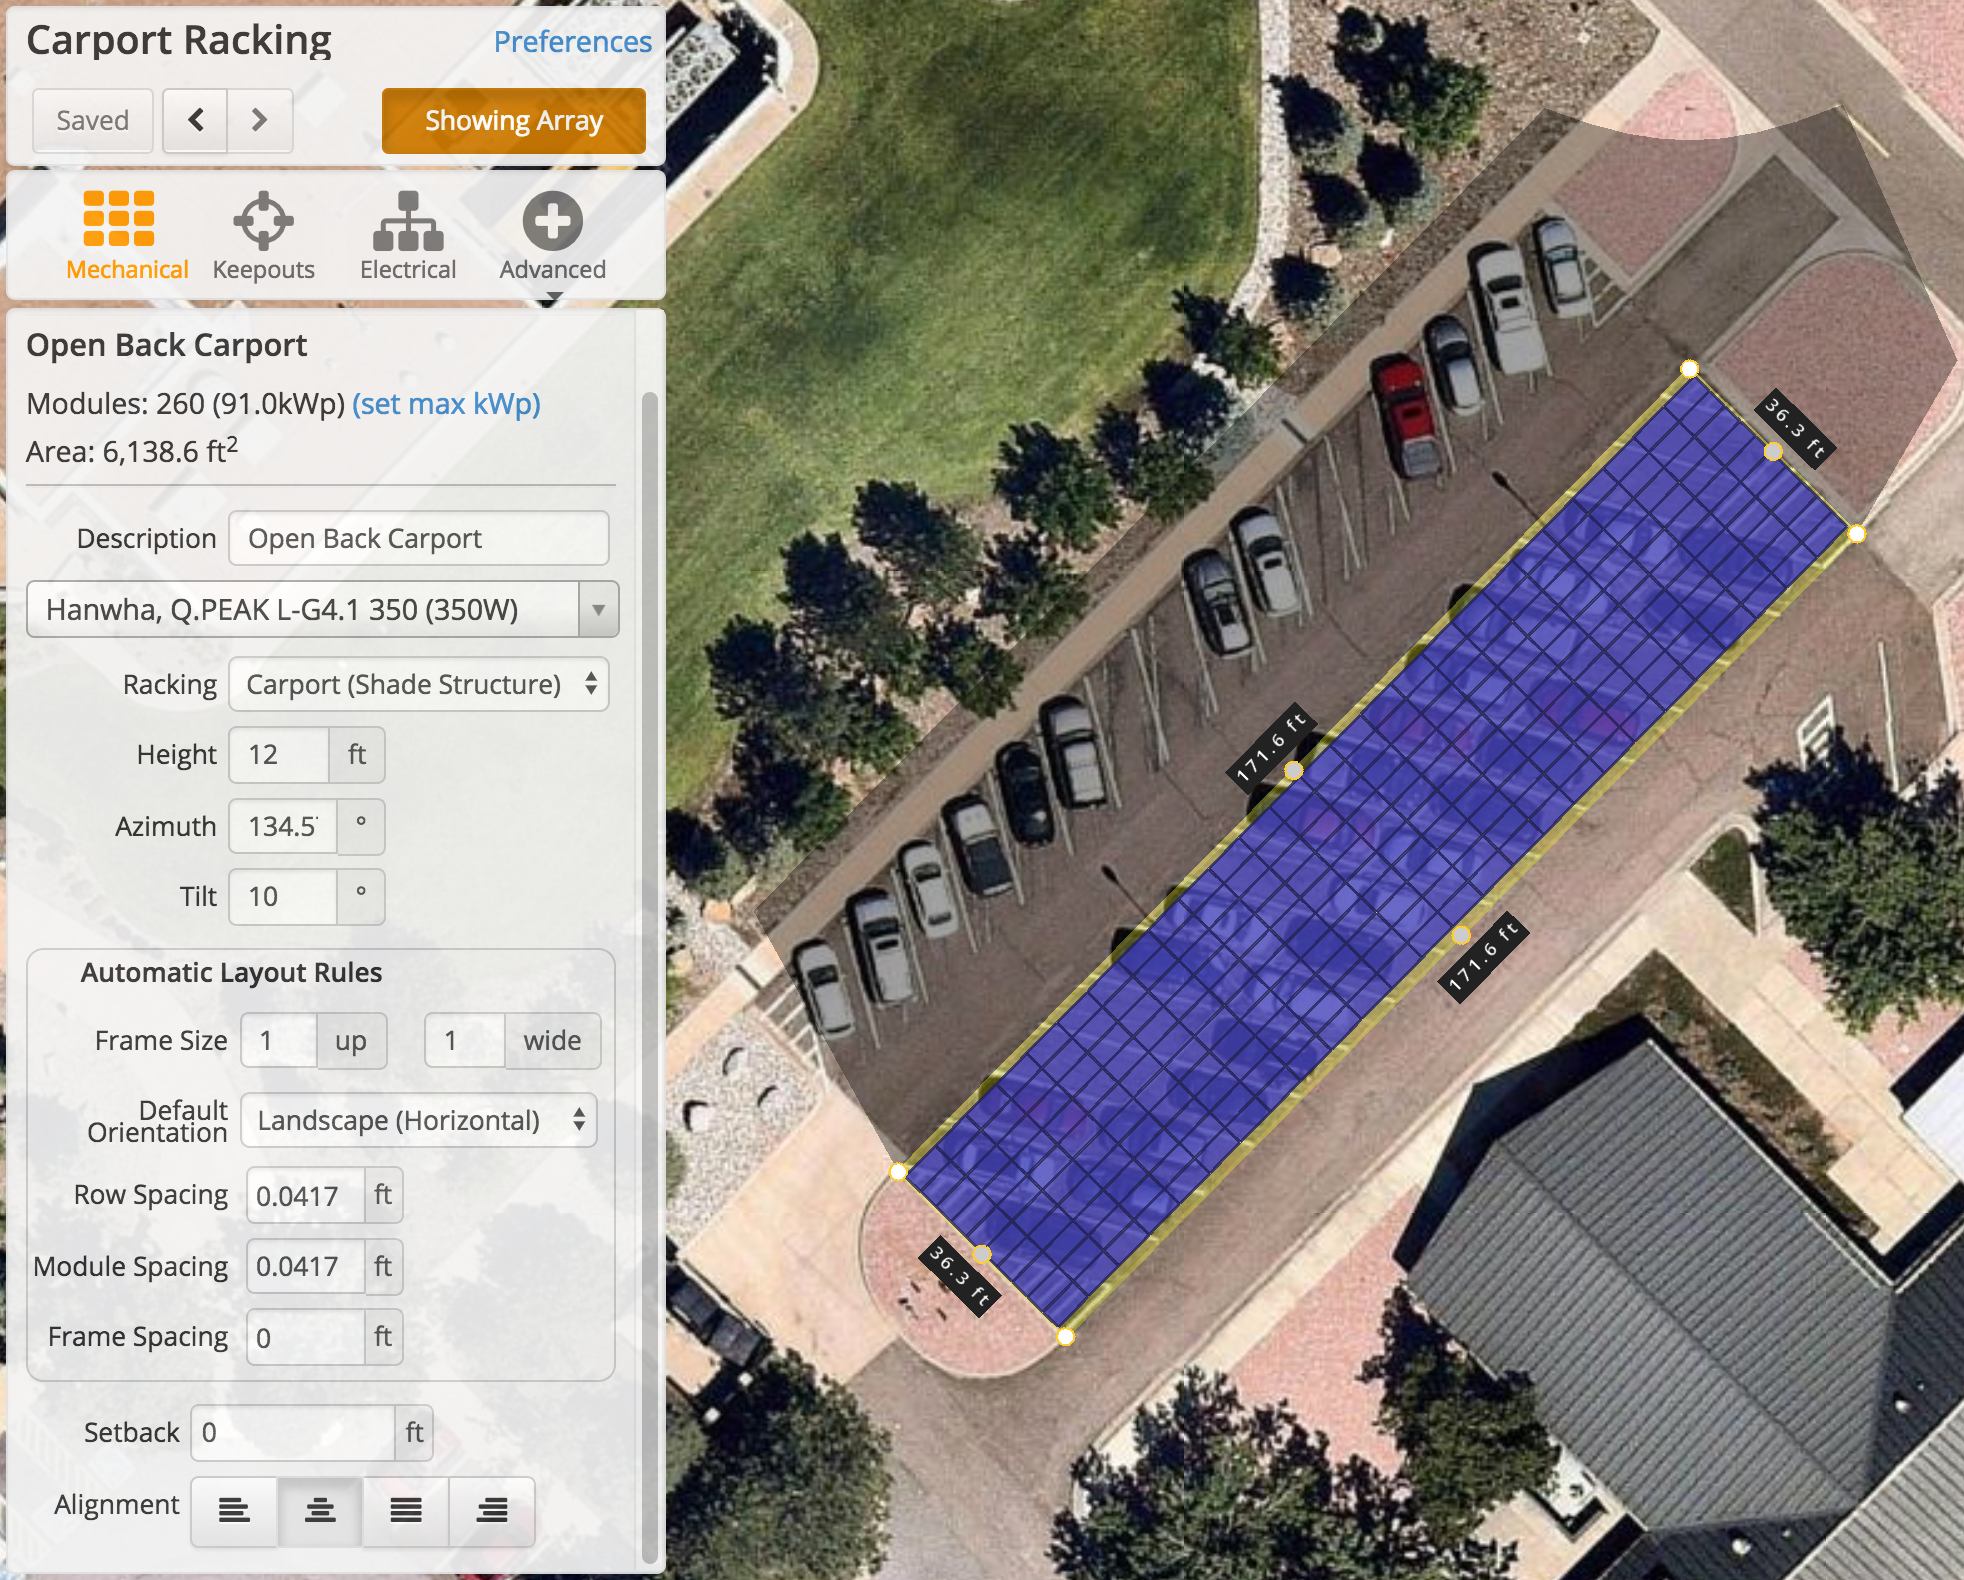
Note that Carport and Flush Mount racking should only be used for single carports, as each field segment will represent a single plane. If you try to create multiple rows of carports in one field segment, it will put them all on the same plane in the example below. For this reason, it's always good to check your array in 3D once completed.
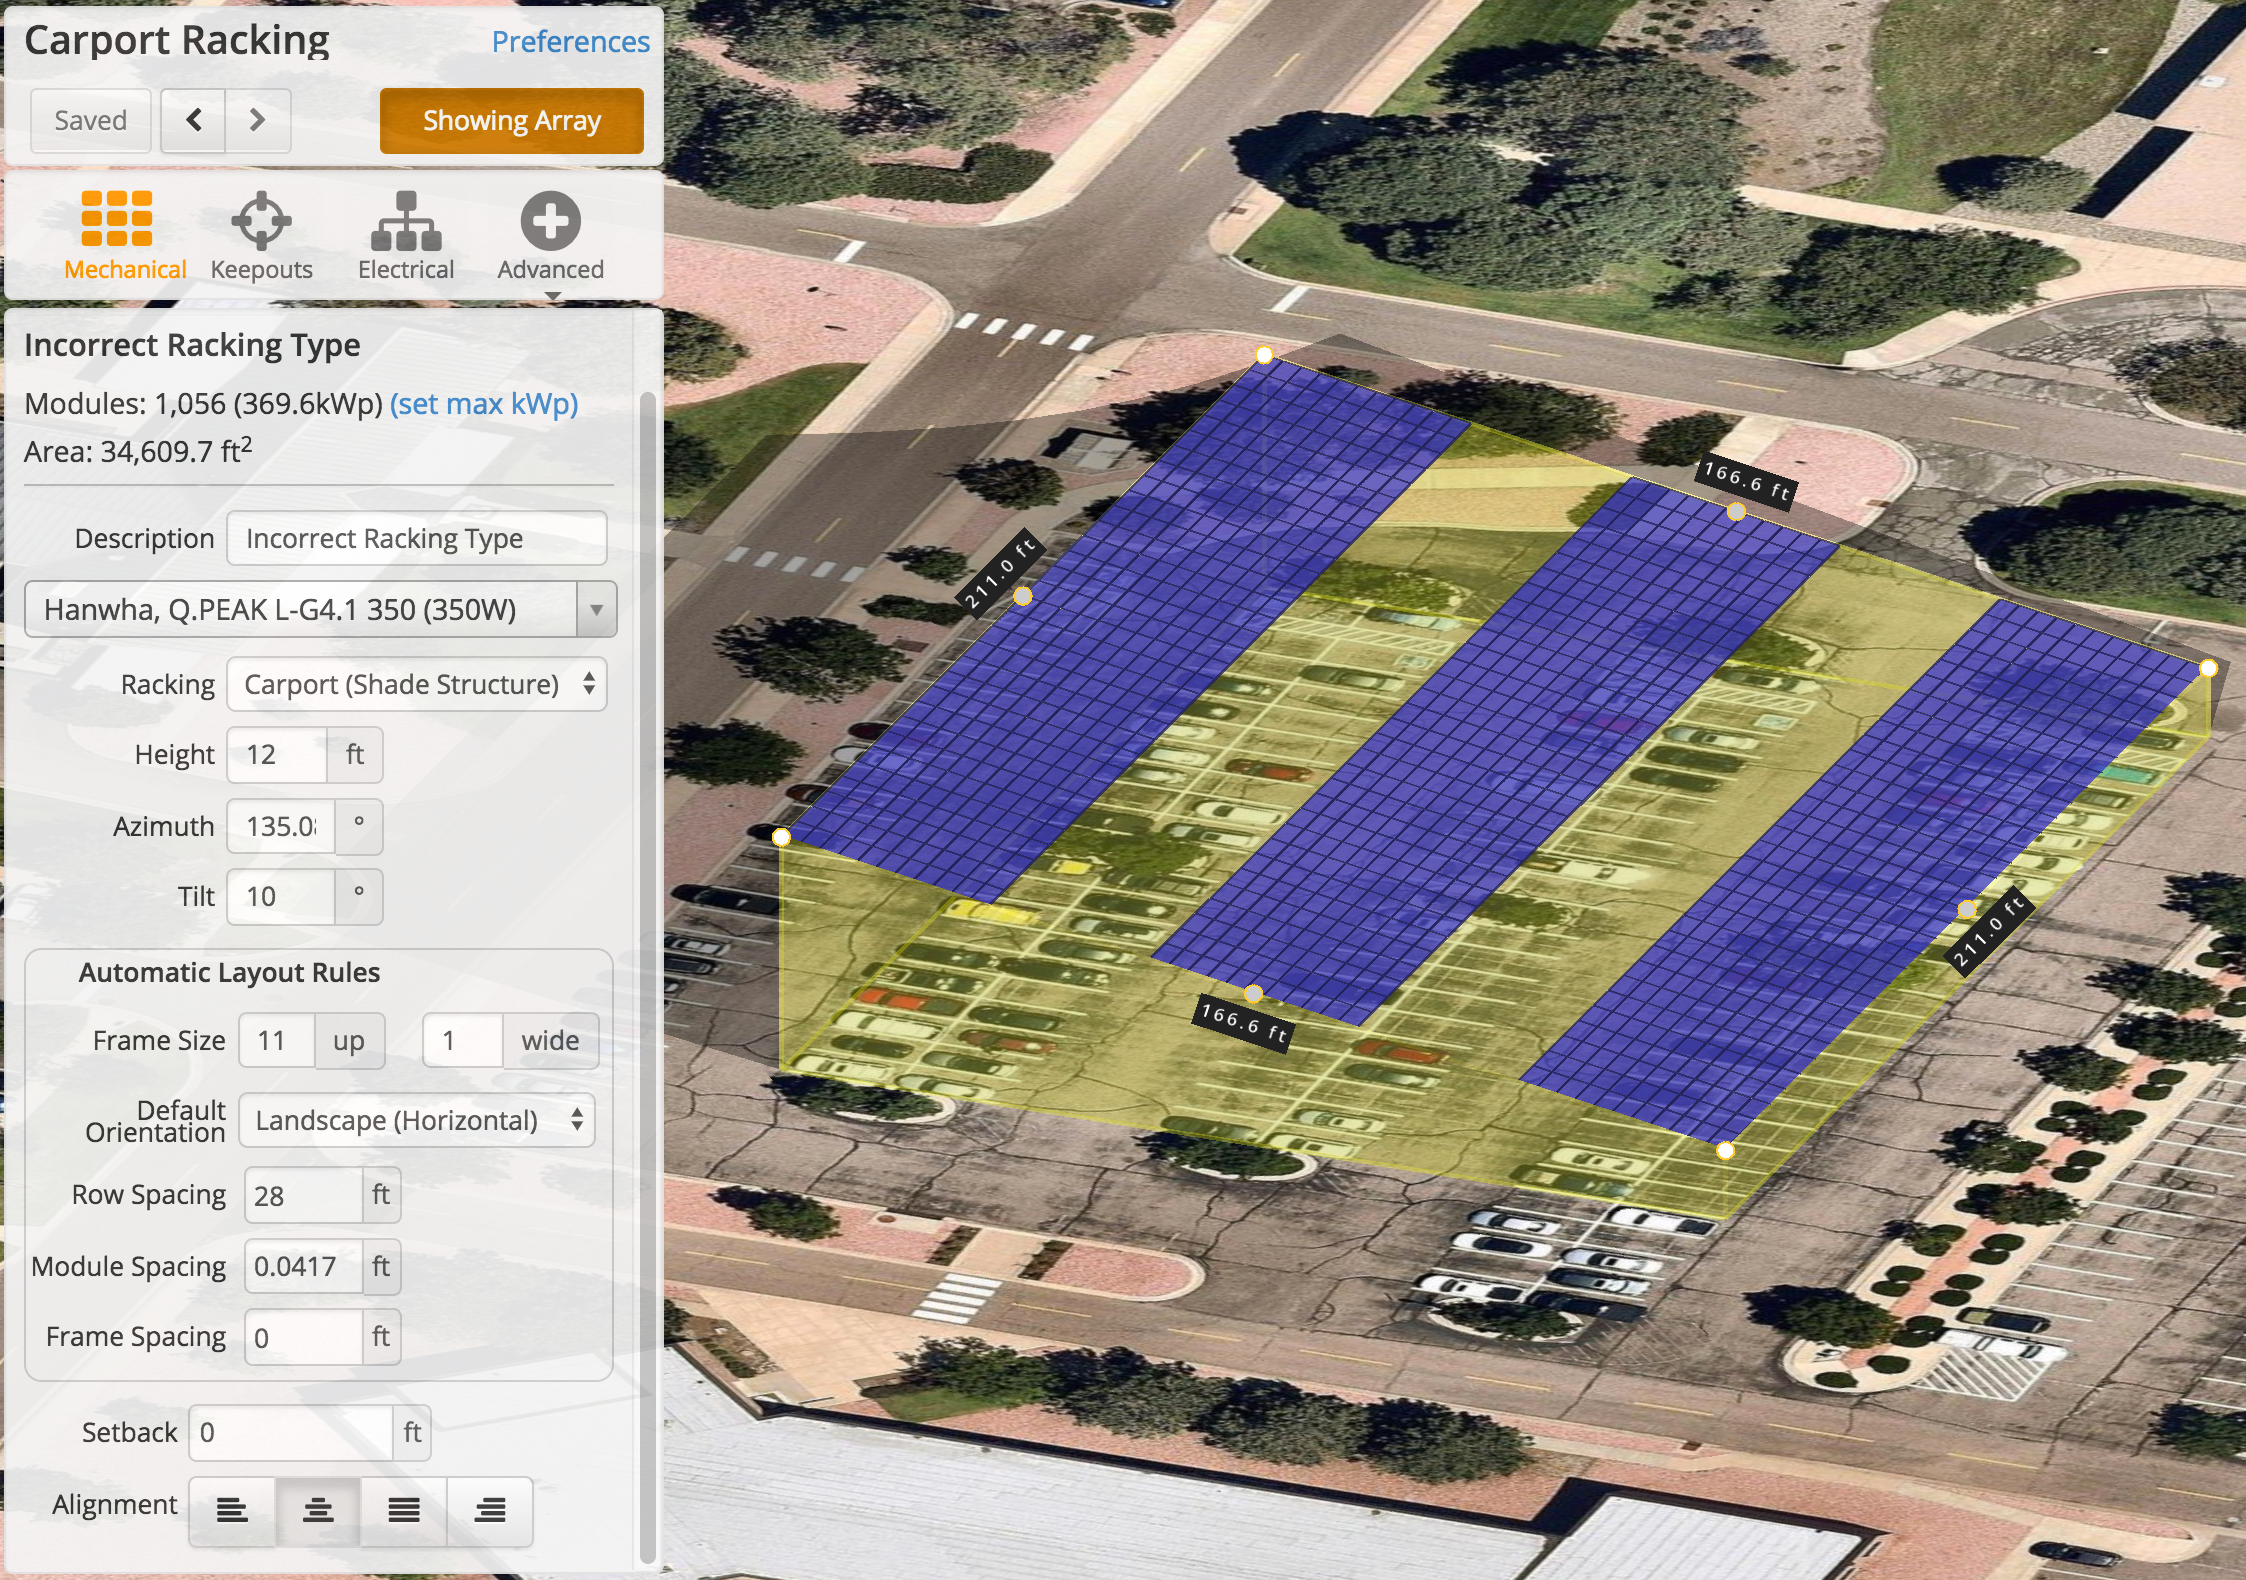
Rows of Carports
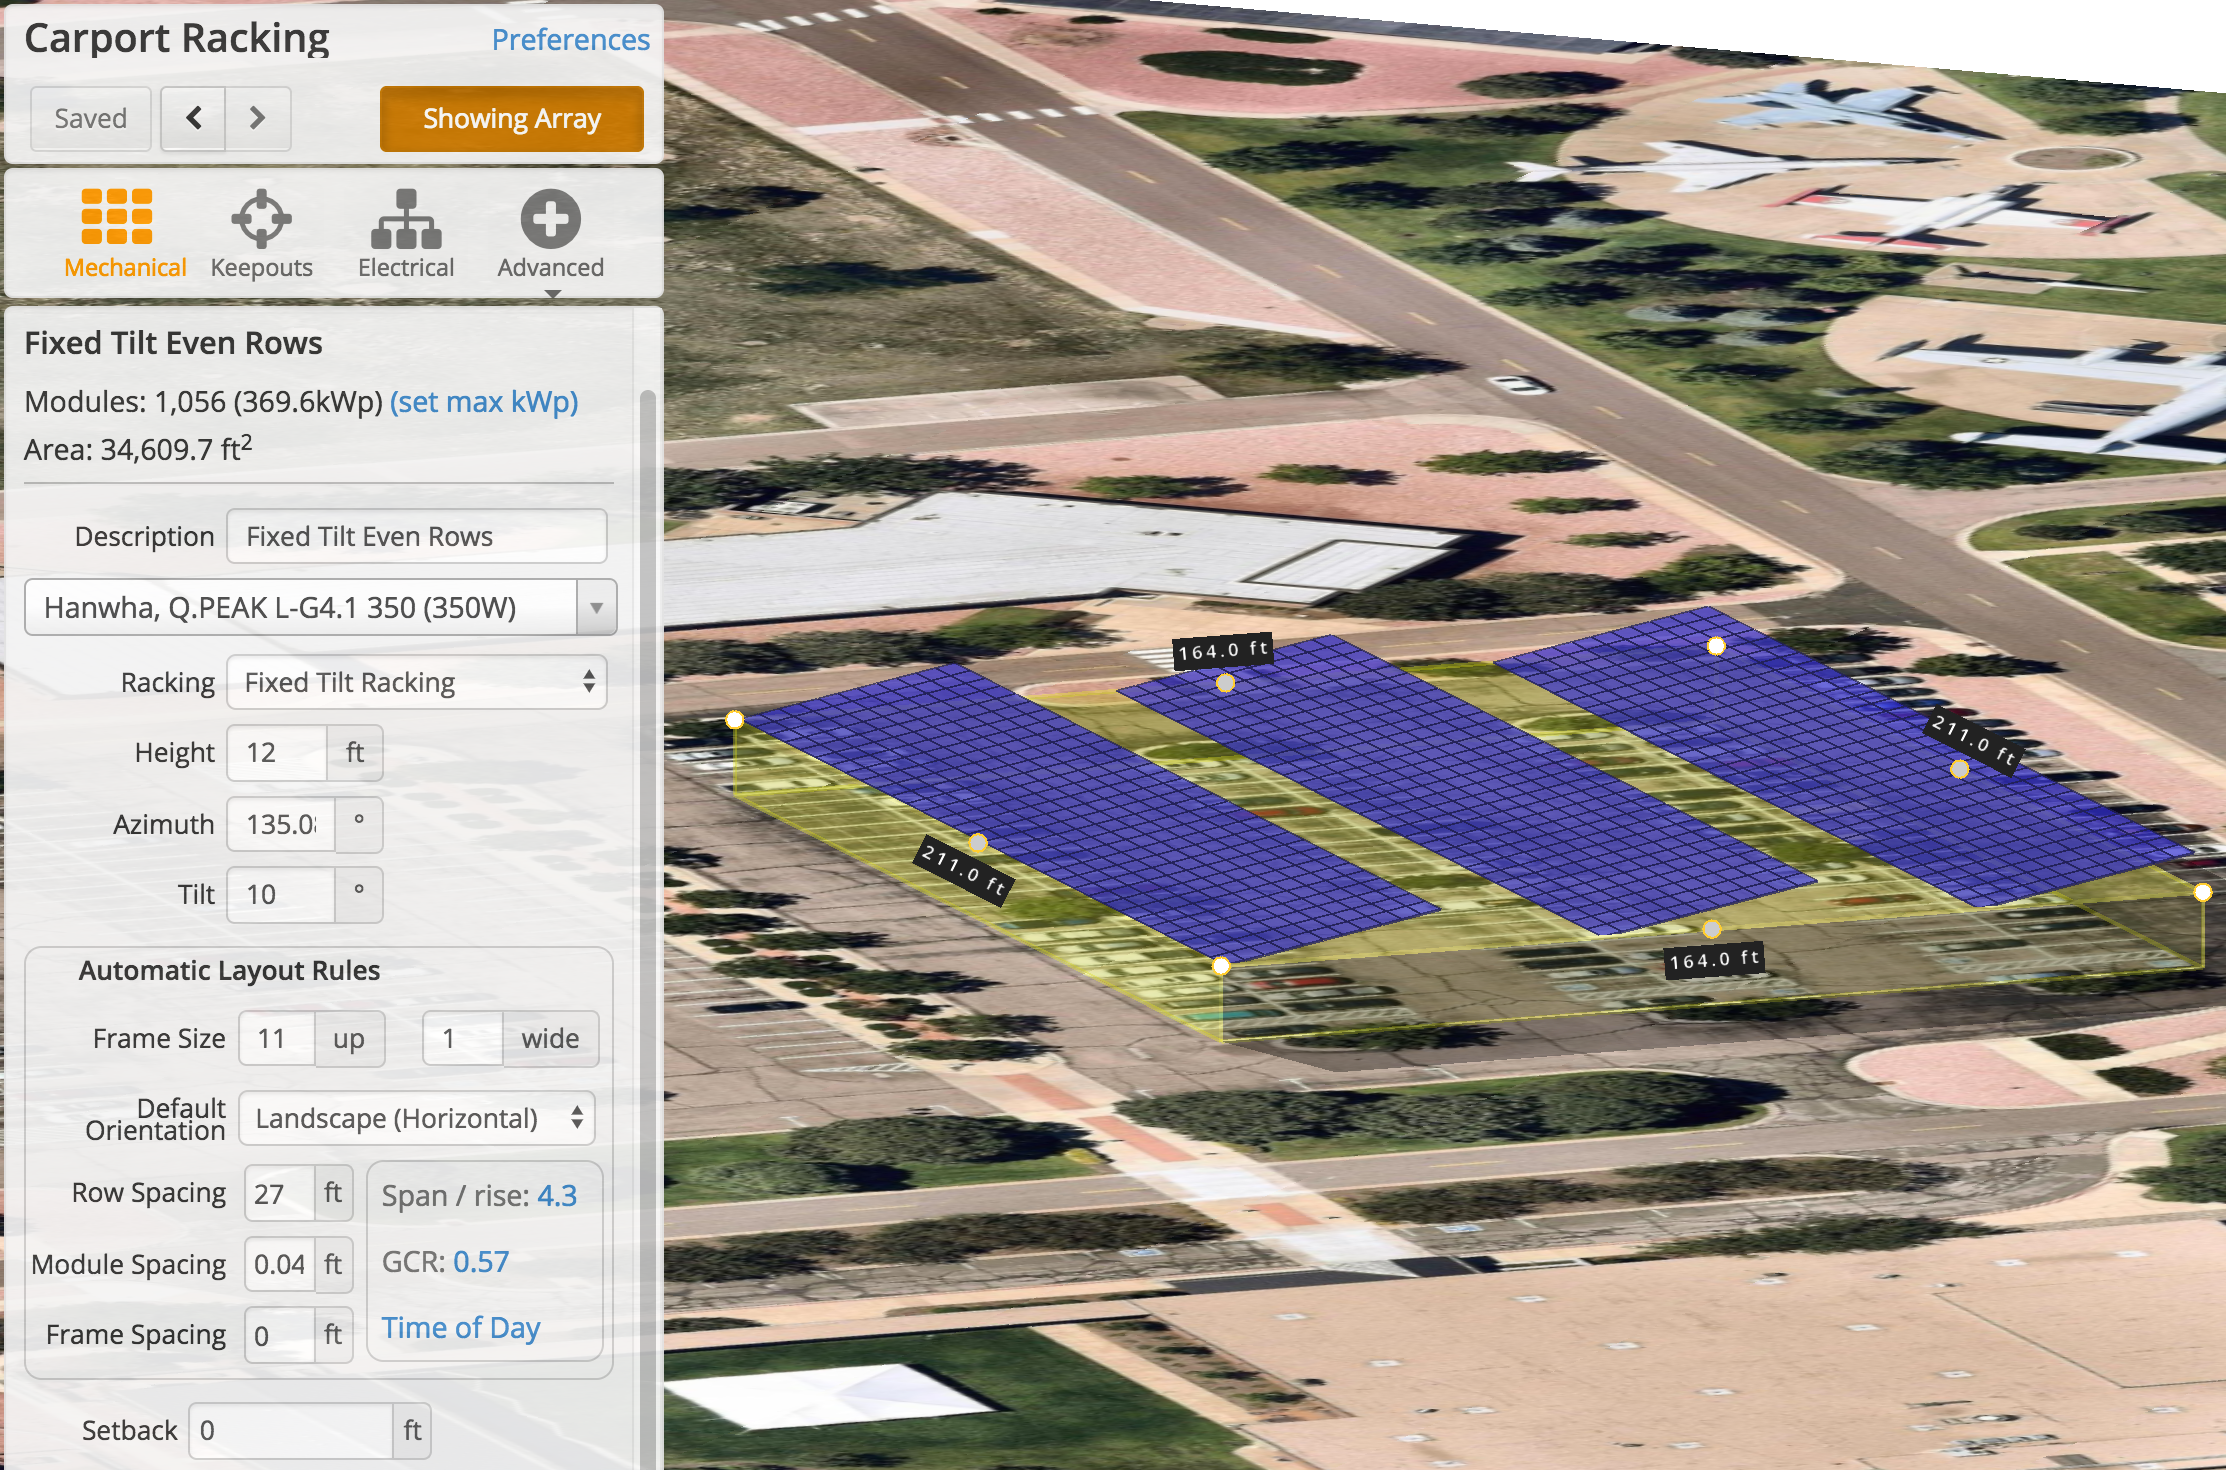
When installing evenly spaced rows of modules, it can be helpful to use fixed tilt racking to create rows that each have their own plane. To do this, we need to make sure we have our frame size and row spacing set appropriately. Frame spacing will let us determine how large our array is going to be, particularly the value that we put up. In the example below, we can see that a frame size of 11 up will give us arrays that are 11 modules tall. Now that we have our frame size set, we can either leave it as 11 by 1, or we can set the value for wide to determine how wide we want our arrays to be if we don't want to use the edge of the field segment. Now that our frame size has been set, we'll want to set our row spacing as well to get our regular row spacing in between our arrays, which we can see below.
Y-Frame Carports
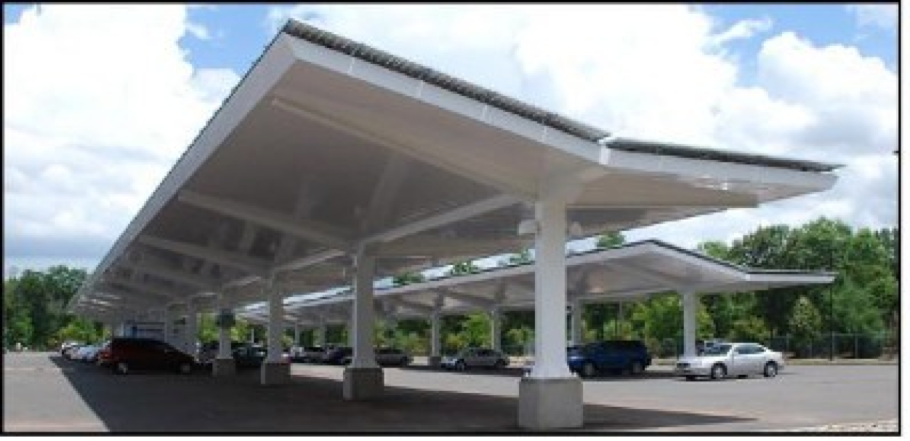
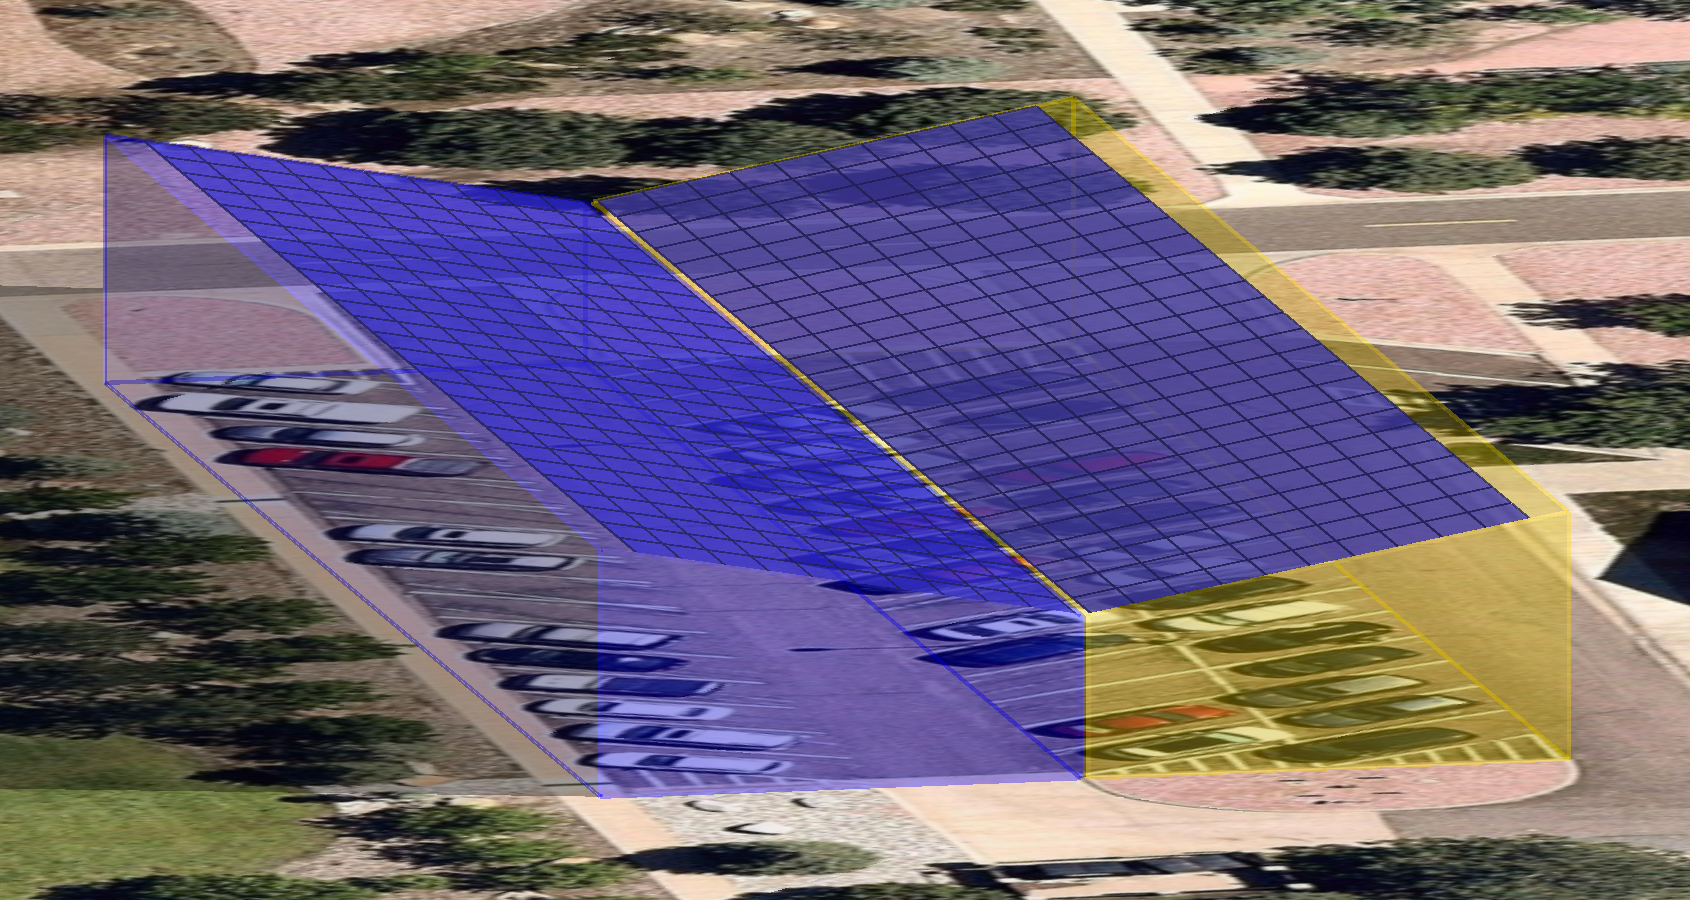
Currently, Y Frame carports are not a racking type in HelioScope, but it is fairly easy to create them when designing single carports using carport racking as shown above. To then create a Y frame, just copy your field segment and drag it adjacent to the previous field segment. Once copied, use the set azimuth function to change the orientation of the copied field segment to the opposite direction. Once you've done that, your Y Frame carport should look something like this:
