Please view this video or see the steps below to create and customize a Report.
Creating & Customizing a Report Video:
Steps to Creating Your Report:
1. To access, please use http://beta.helioscope.com.
2. Select a Project to open from the All Projects menu or create a new Project by clicking on New Project to create a Project and Design.
3. Configure your financial inputs and generate your Proposal.
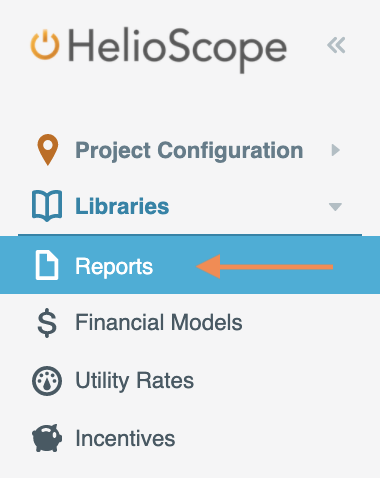
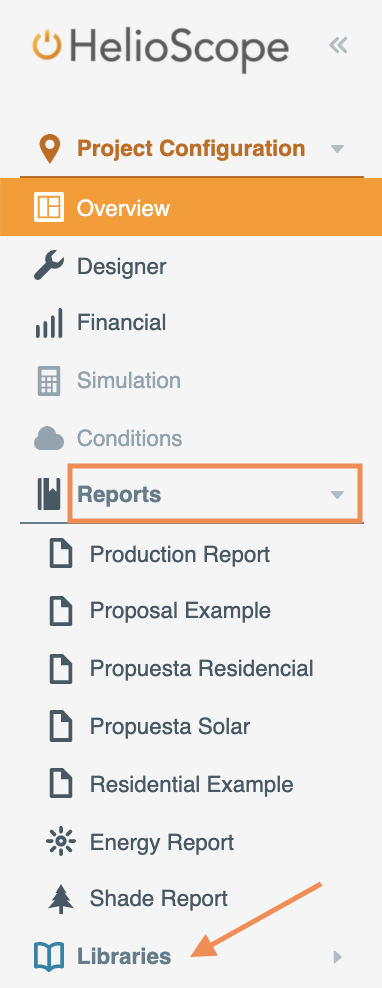
4. To view existing favorited Reports, click on a Report under the Reports section of the left menu bar. To edit, create, or favorite new Report Templates, click on Libraries and Reports to expand the list of Report templates available.
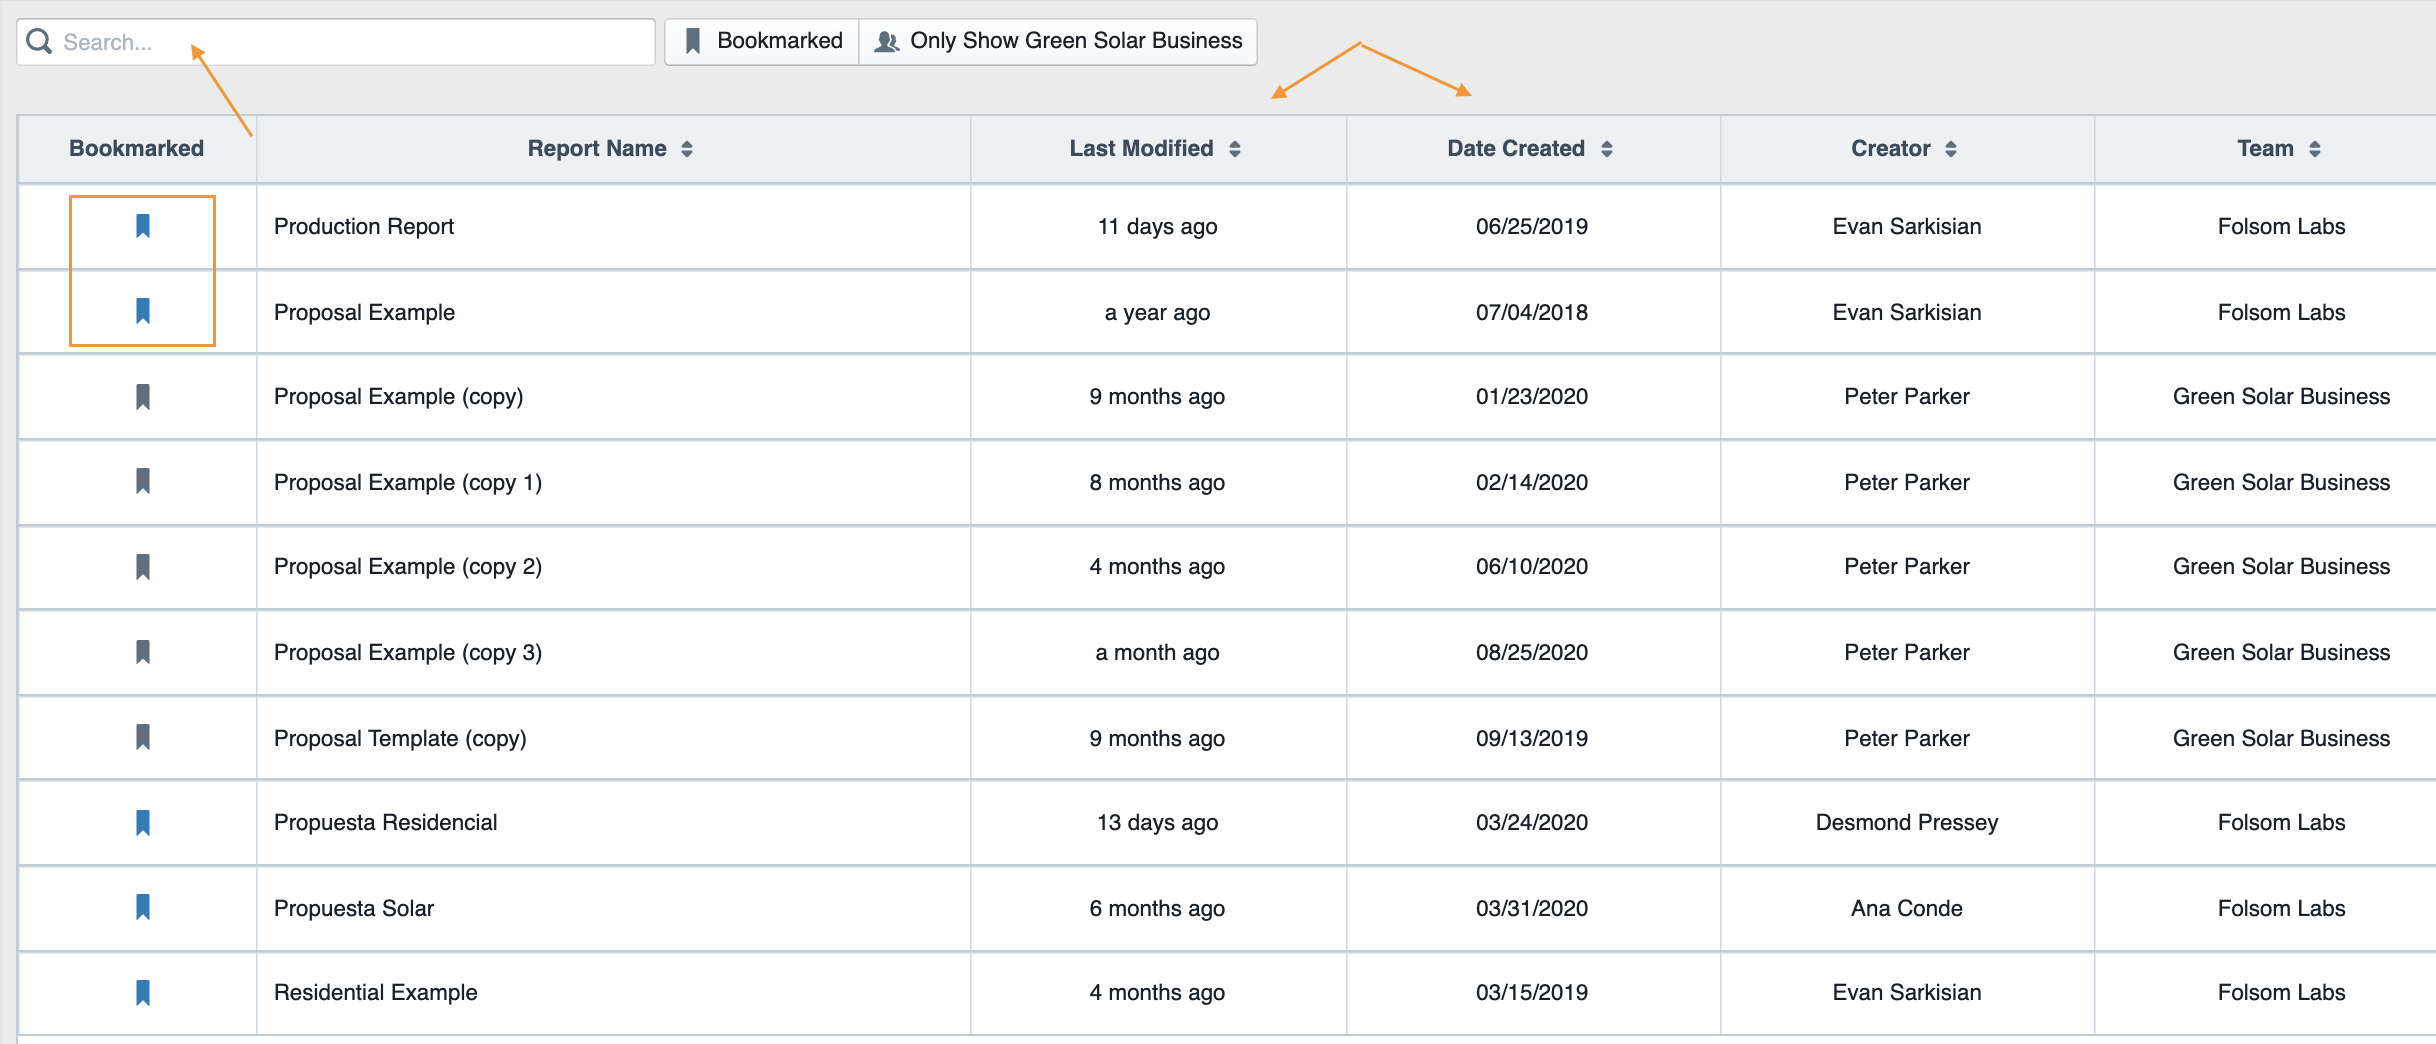
Search for the name of the Report in the search bar. Bookmark or un-bookmark specific Reports. Sort them by Last Modified, Date Created or by any other field available.
5. Click on a Report to open it. Change the color scheme of the Report by clicking on
Team Theme to open the drop-down menu with the list of Theme of colors available or
create a new Theme.
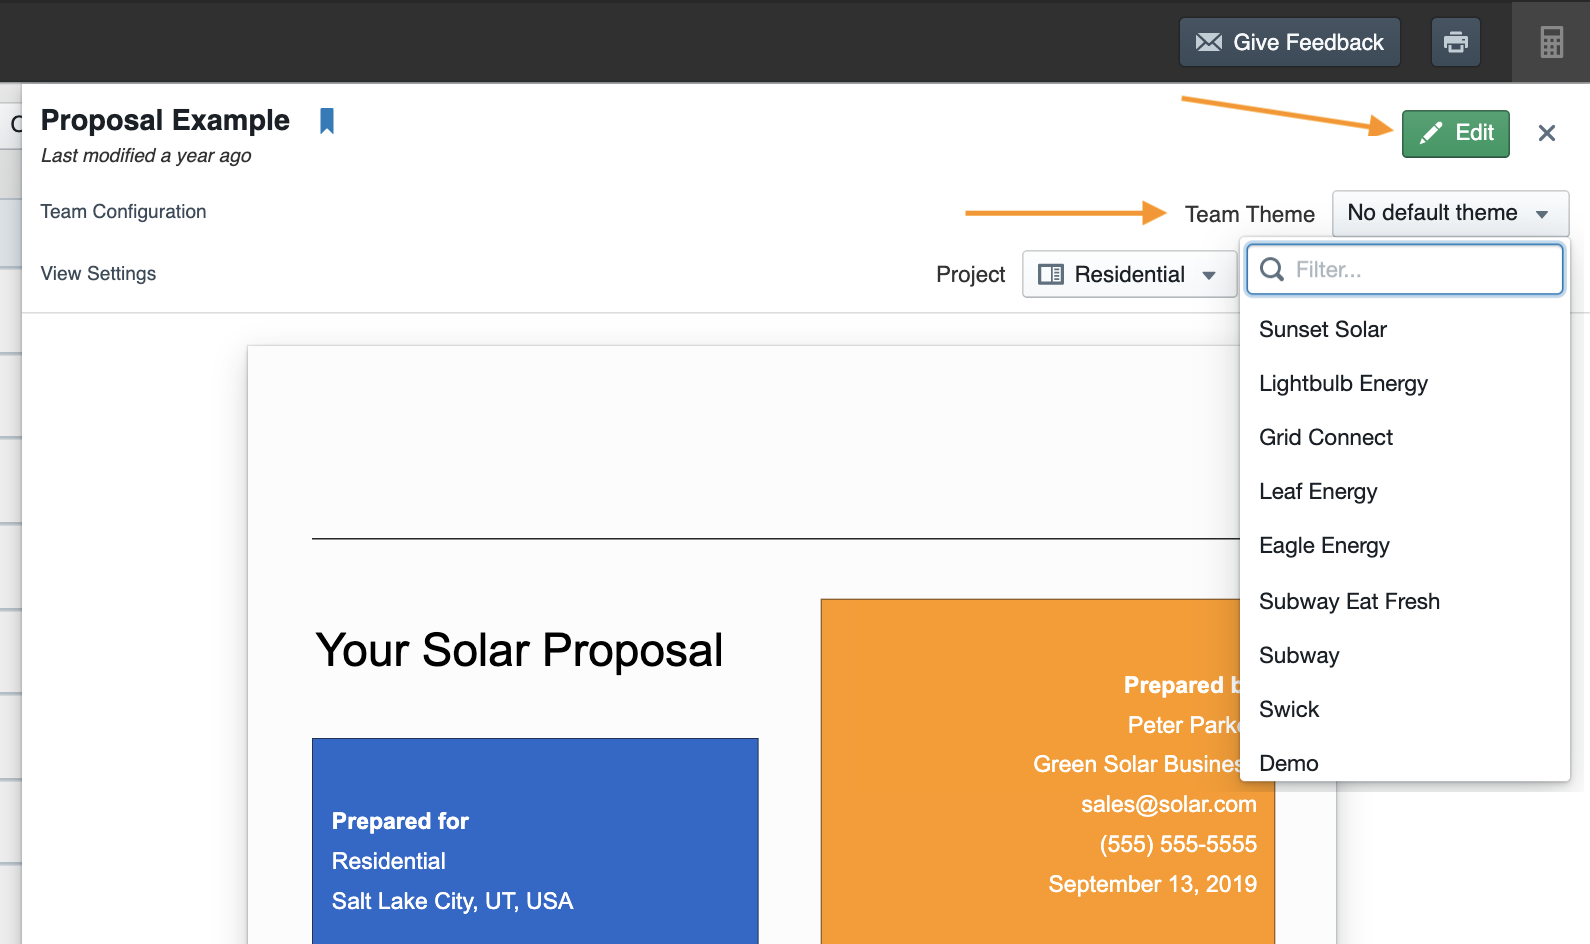
6. Click on Edit to open the report editor. Edit the Report name by clicking on the name or the pencil symbol.

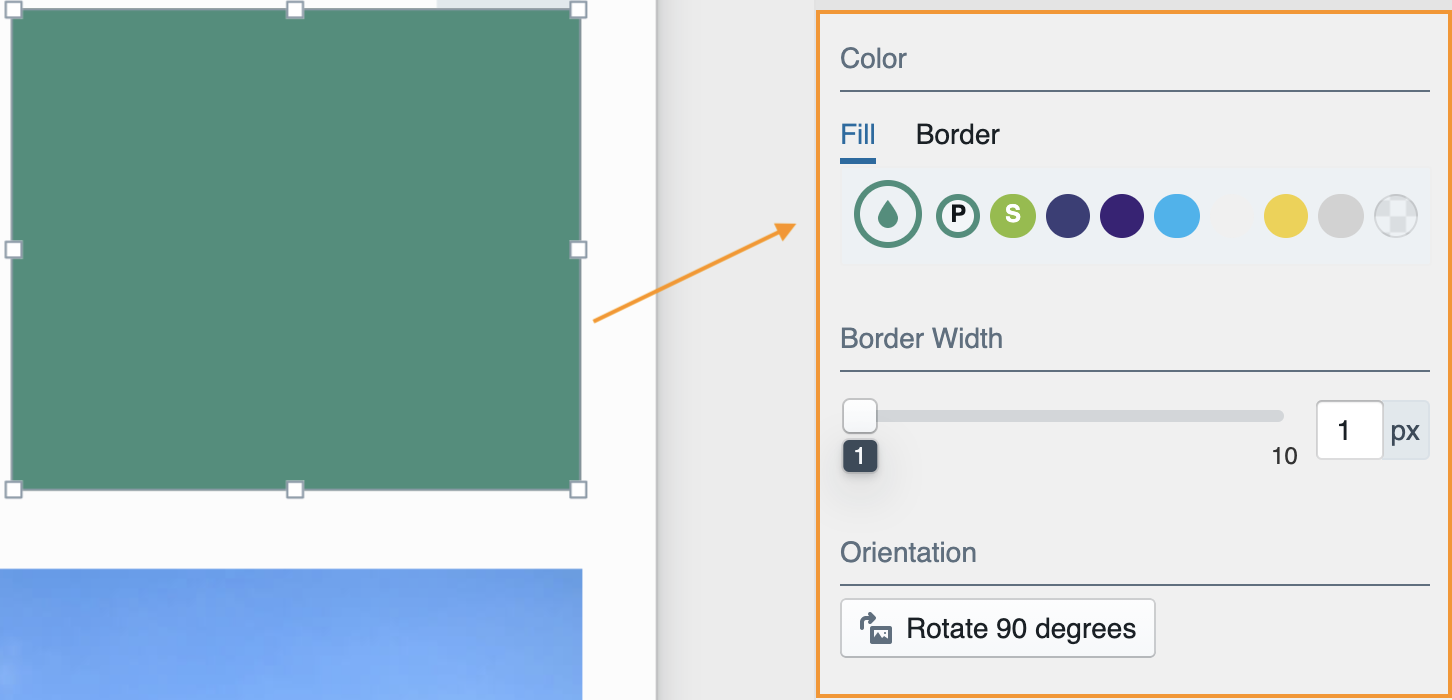
7. Edit any existing content of the template by clicking on it. Edit the format or color of text and shapes, type and content of charts, or size of images


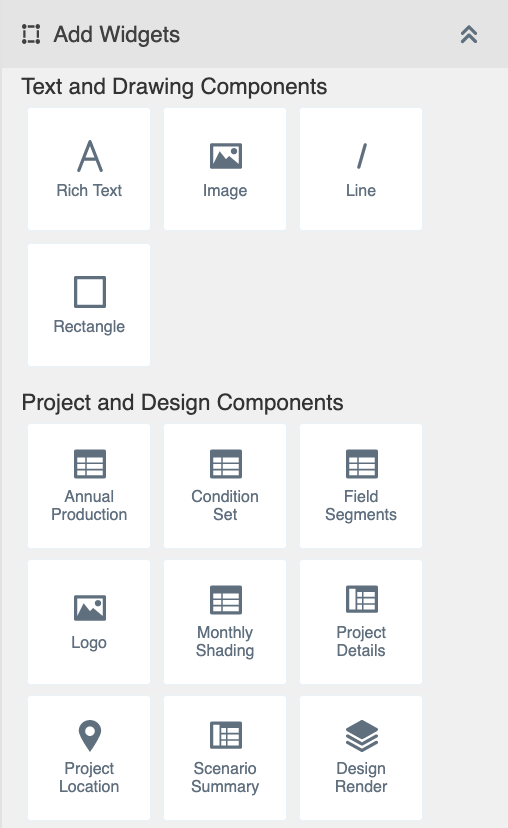
8. To add new content, click on the desired
Widget from the
Widget Menu and add it to the current page of the Report. Drag it to a different location and allow it to snap into alignment with other items on the page by using the guided placement marks.
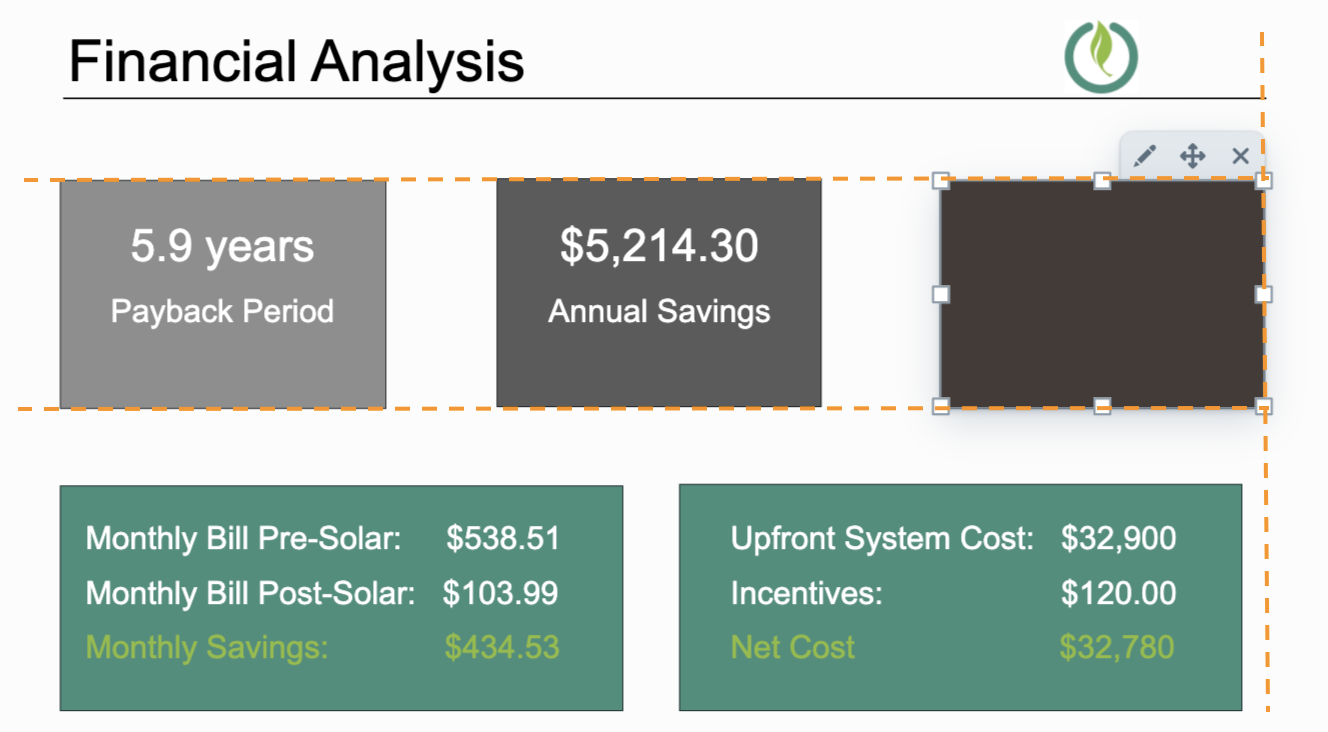
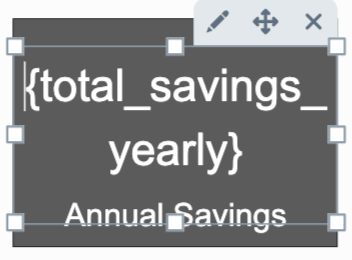
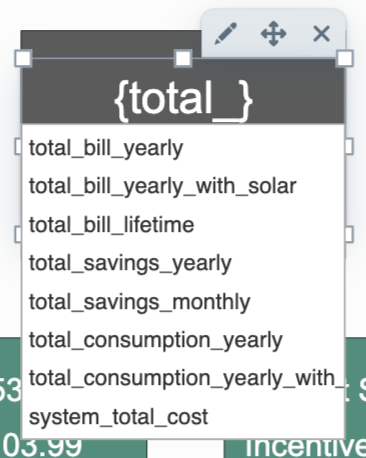
9. Add Smart Tokens to the text fields to automatically import different values or terms from HelioScope using the curly bracket "{". Find a list of Smart Tokens available
here.
10. Change the Paper Orientation or Paper Size from the
Advanced options of the Editor right menu bar. To rearrange the order of the pages, read more
here.
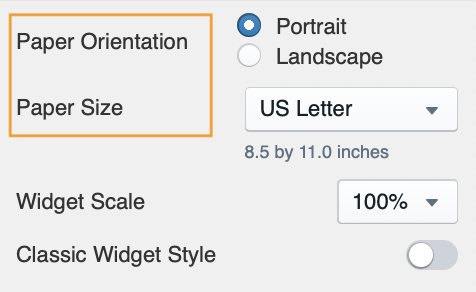
Note: Enabling the Classic Widget Style toggle will show all headers on your report
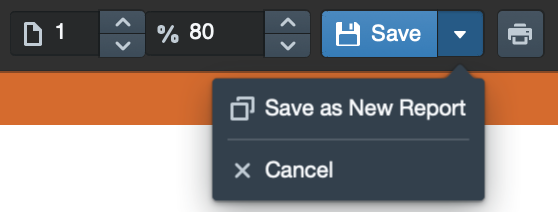
11. Save the Template or Save as a New Report.
